
My sweet potato gnocchi recipe was created because I wanted to make a slightly healthier version of my favourite old standby...plus I loooooove sweet potato. I would recommend tossing these gnocchi in a little sage- scented brown butter for a decadent treat, or just serving them up with a marinara for a healthy, hearty dinner.
The process of making gnocchi employs the Italian "quanto basta" measurement technique...literally, "until it's enough." So if you're looking for an exact recipe, you won't find it here. I'll do my best to explain exactly what you should see and feel, but rest assured, even if you mess up, the results are usually more than acceptable.
You will need:
- 2 large sweet potatoes
- 3-4 cups of whole wheat flour
- 1 large egg
- salt and pepper to taste
1) Prick the potatoes all over with a fork and roast them at 400* for approximately an hour. Your knife should slide effortlessly through the flesh. Halve the potatoes and let them cool for
10-15 mins.

2) Scoop out the flesh of the potato and put it into a large bowl. Mash the flesh and discard the skin (or eat it as I do...mmm, fibre!). Mix together the flesh, egg, and a little salt and pepper. Then slowly add about 1-2 cups of flour. You should have a sticky, gloopy mess at this point.

3) Turn this sticky, gloopy mess out onto a well-floured work surface, and sprinkle liberally with flour while kneading the dough. Continue adding flour until the dough is easy to handle...It will still be slightly sticky, but you can work with it at this point. Don't worry about adding too much flour, just use what you need. When you have finished kneading, cut the dough into quarters.

4) Roll each section of dough into a 12-15 inch long tube. (Think: kindergarten play-doh centre antics). Try and keep the tubes the same-ish width. Use more flour here if necessary.

5) Cut each tube into pieces. I make my gnocchi about 1cm, you can make yours longer or shorter.

6) In order to ensure the gnocchi holds some sauce, you'll need to give it some ridges using a fork. Hold the fork in one hand and place the gnocchi on the fork. Press and roll the gnocchi with your thumb. Like this:

This will create both ridges on the top:

and a well underneath to catch sauce. This is a very important step. You can skip it, but you may regret it!

7) Allow the gnocchi to dry for about 15-20 mins. If you are cooking them immediately, use a large pot of salted, boiling water. The gnocchi will need about 2-3 minutes to cook. You will know they are done when they float to the top of the pot.
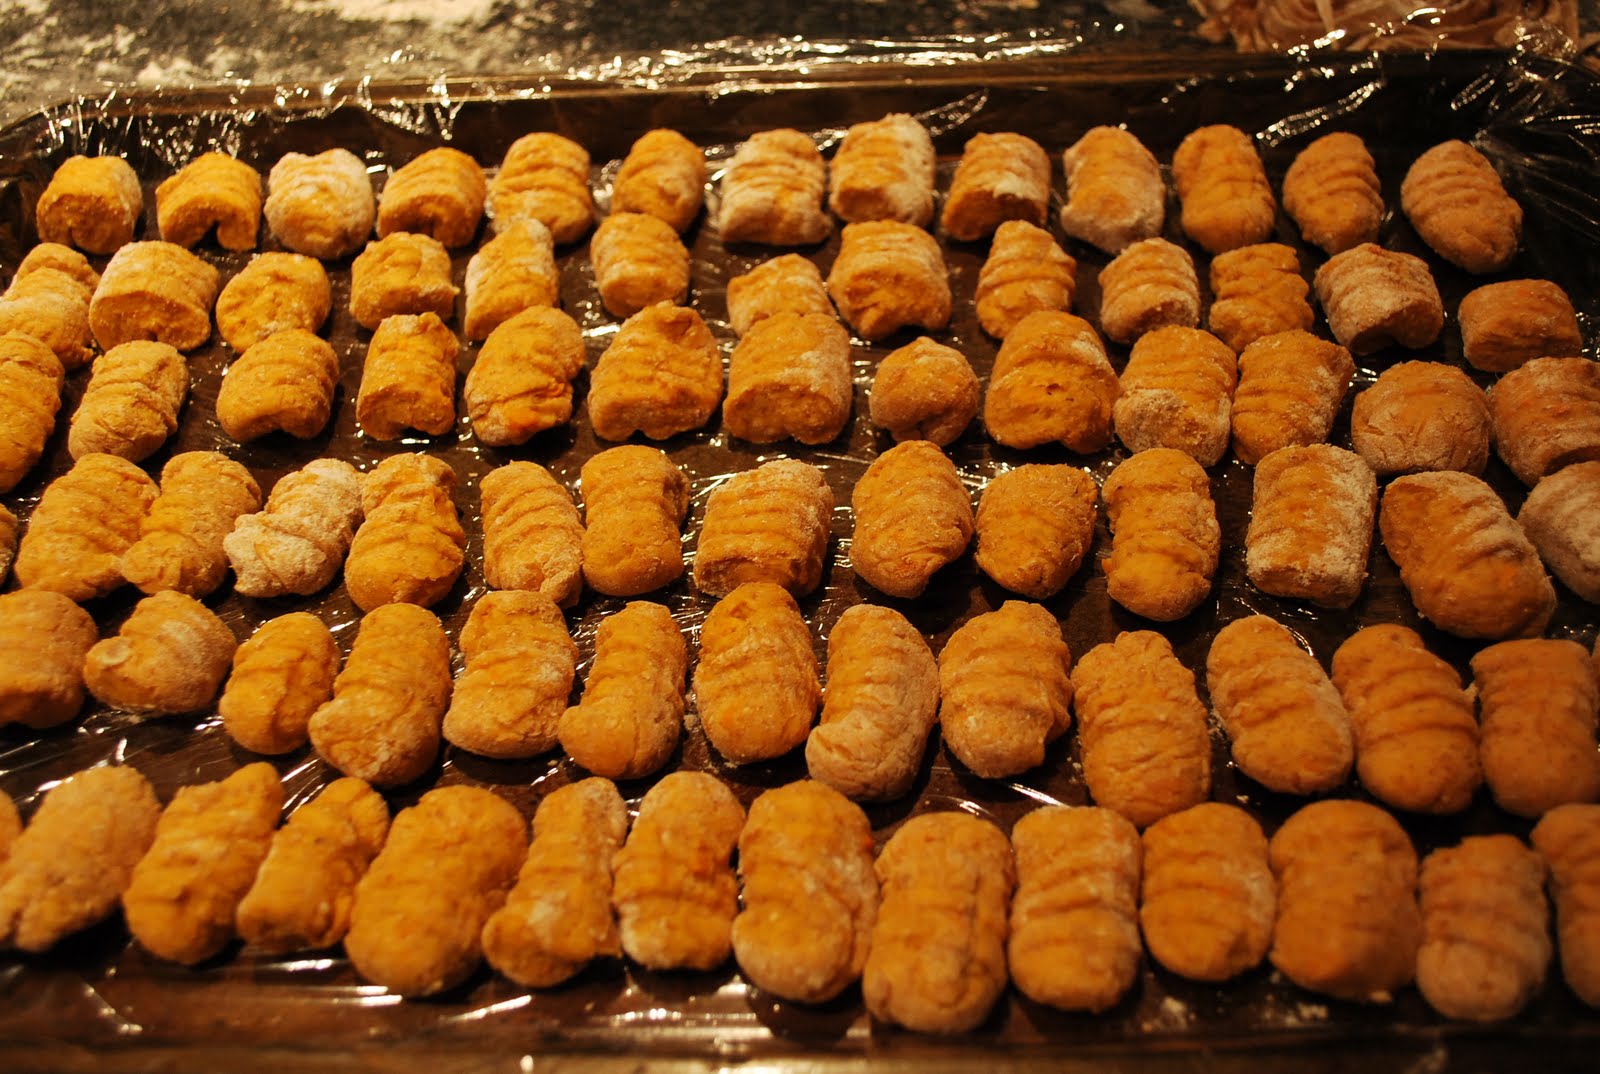
8) If you are freezing them, Don't cook them. Place them in a single layer on a plastic-wrapped baking tray and flash freeze them for about 2 hours. Store them in a large freezer bag. To make from frozen, allow them to thaw and just follow the cooking directions above.

As an aside, I also made fresh whole wheat linguine using my new Kitchen Aid stand mixer attachment...but I think that's a recipe for another day!


6) In order to ensure the gnocchi holds some sauce, you'll need to give it some ridges using a fork. Hold the fork in one hand and place the gnocchi on the fork. Press and roll the gnocchi with your thumb. Like this:

This will create both ridges on the top:

and a well underneath to catch sauce. This is a very important step. You can skip it, but you may regret it!

7) Allow the gnocchi to dry for about 15-20 mins. If you are cooking them immediately, use a large pot of salted, boiling water. The gnocchi will need about 2-3 minutes to cook. You will know they are done when they float to the top of the pot.
8) If you are freezing them, Don't cook them. Place them in a single layer on a plastic-wrapped baking tray and flash freeze them for about 2 hours. Store them in a large freezer bag. To make from frozen, allow them to thaw and just follow the cooking directions above.
As an aside, I also made fresh whole wheat linguine using my new Kitchen Aid stand mixer attachment...but I think that's a recipe for another day!


